This post provides step-by-step instructions for setting up single sign-on (SSO) from Salesforce to RizePoint.
Prerequisites
- RizePoint account with system administrator access. You will also need access RizePoint support to configure the settings on your RizePoint site.
- Salesforce org with identify features (developer or enterprise and up) with system administrator access. Sign up for a free developer edition org here.
Step 1: Set up My Domain in Salesforce
The My Domain feature creates a custom subdomain for your org and is required to use Salesforce as an identity provider. Go to Setup -> My Domain, enter a name for your subdomain and click “Check Availability”. Once you get a confirmation that the subdomain is available, click “Register Domain”. Salesforce will send you an email when the custom domain has been registered.
Click the link in the email and log in using your new domain. Navigate back to the My Domain page in setup. Click the “Deploy to Users” button.
Step 2: Enable Salesforce as an Identity Provider
You’ll need a self-signed or commercially signed certificate in order to enable Salesforce as an identity provider. If you don’t already have a certificate in the Salesforce org, you can quickly create one by going to Setup -> Security -> Certificate and Key Management. Click the “Create Self-Signed Certificate. Enter a descriptive name for the label and the unique name will be populated automatically. Click the “Save” button.
Now we can enable the Salesforce org to be an identity provider. Go to Setup -> Identity -> Identity Provider. Click “Enable Identity Provider”. Select the certificate you just created, or an existing one.
Step 3: Get SSO Information from RizePoint
Contact RizePoint support to enable SAML single sign-on for your RizePoint site. The support team will provide you with the Entity ID and ACS URL to use in the next step.
Step 4: Create a Connected App in Salesforce
The connected app is going to store information about RizePoint and is also going to be used to create the tile in the App Launcher so that users can quickly launch RizePoint from Salesforce.
Navigate to App Manager in Setup and click “New Connected App” in the top right of the page. Use the following values
- Connected App Name: RizePoint
- API Name: RizePoint
- Contact Email: (any email address)
- Logo Image URL: (click “Upload logo image” and upload an image file that is 125×125 pixels – this will appear in the app launcher tile)
- Enable SAML: true
- Entity Id: (Provided by RizePoint support)
- ACS URL: (Provided by RizePoint support)
- Subject Type: Username
- Name ID Format: urn:oasis:names:tc:SAML:2.0:nameid-format:transient
- Issuer: this should be your custom Salesforce domain: https://<custom-domain>.my.salesforce.com (may also look like this if you are using a developer edition org: https://<custom-domain>.dev-ed.my.salesforce.com)
- Enable Single Logout: Enabled
- Single Logout Binding: HTTP Redirect
- IdP Certificate (Keep default value)
Click the “Save” button.
Next we need to give users access to the connected app. Navigate to Manage Connected Apps. Click the “RizePoint” app to open the detail page of the connected app. Click Manage Profiles and add the System Administrator profile.
Finally, we need to set the Start URL for the connected app. Copy the IdP-initiated login URL in the SAML Login Information section of the connected app detail page. Click the “Edit Policies” button. Paste the IdP-initiated URL into the Start URL field and click the “Save” button.
Step 5: Configure SSO Settings in RizePoint
First, download the certificate you used when enabling Salesforce as an identity provider by navigating to Setup -> Security -> Certificate and Key Management. Click the name of the certificate and then the “Download Certificate” button.
Send the certificate along with the following information to RizePoint support: Issuer, SP-Initiated Redirect Endpoint, Single Logout Endpoint.
Step 6: Test the Single Sign-on Flow
In order to test the flow, make sure you are logged into Salesforce as a system administrator, because that is the only profile we granted access to in the connected app.
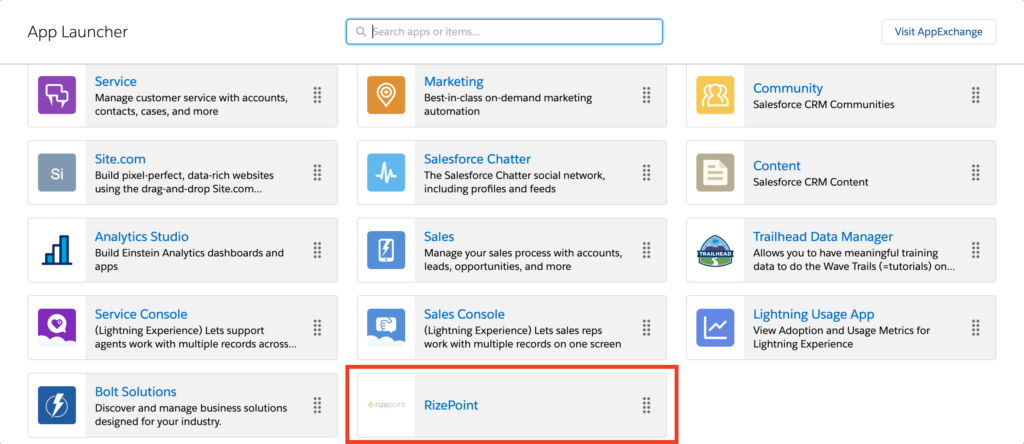
Open the App Launcher. You should see a tile for your RizePoint app. Click the tile and RizePoint should open and you should be logged in automatically. If the user does not already exist in RizePoint, the system will create a user using the information that is passed in the SAML assertion.
Resources
- Salesforce documentation: App Launcher
- RizePoint support: Community Site


